Weeknight Curries
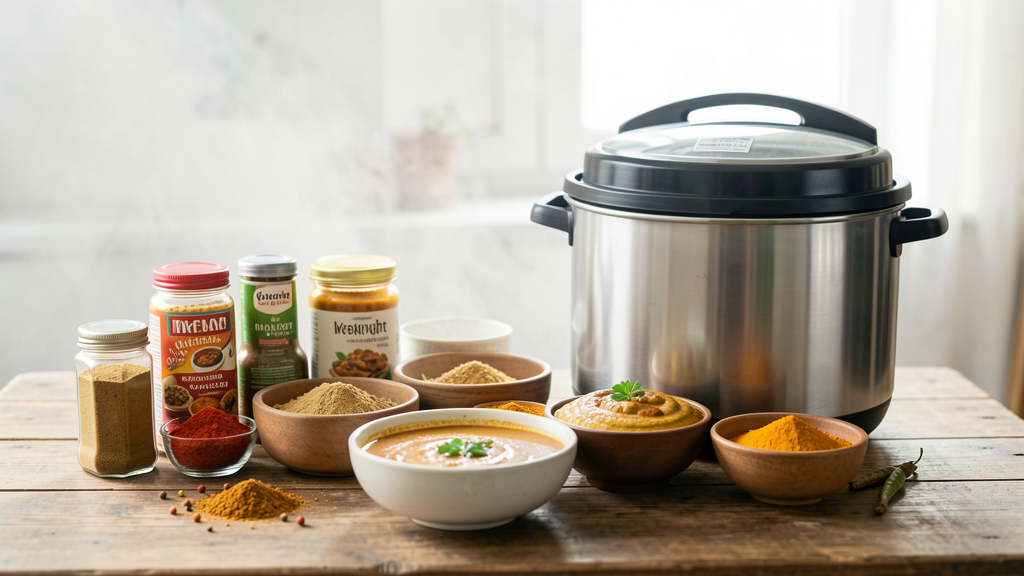
Myth: You Cannot Make Good Curry Without a Pressure Cooker
Ditch the expensive gadgets and learn how high-heat wok techniques can deliver tender, flavorful chicken curries in just twenty minutes.
6 min read
Transform pre-boiled eggs and a blitzed onion-tomato base into a rich, protein-heavy curry in just 20 minutes using this high-heat, assembly-only method.
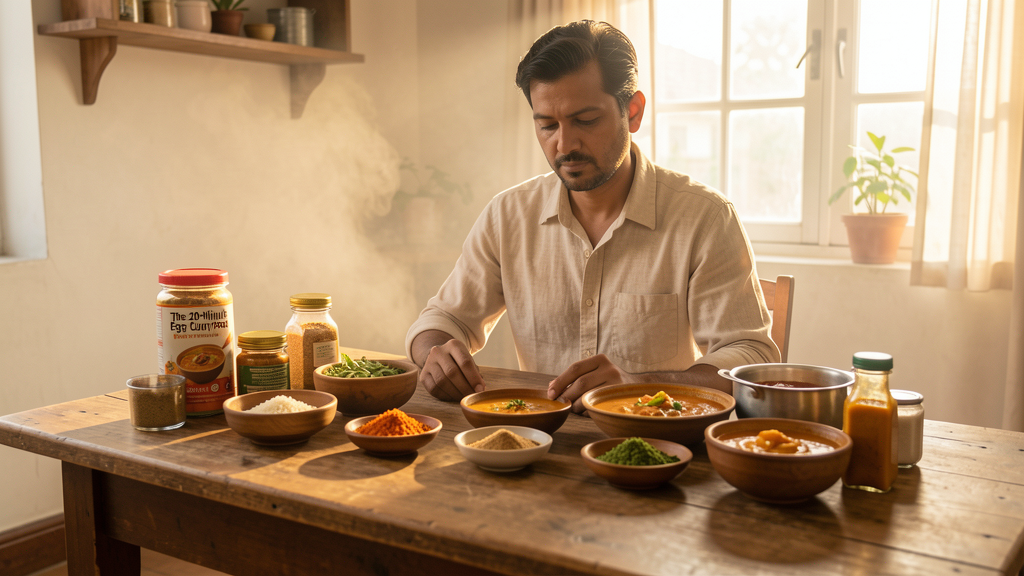
Editorial image illustrating The 20-Minute Egg Curry Protocol: No Slow Simmering Required
It is 7:15 PM on a Tuesday. You have walked through the door, discarded your work bag, and the refrigerator is offering you a carton of eggs boiled on Sunday. The common assumption is that a respectable curry requires a dedicated hour of bhunao—patiently frying onions until they are the color of old pennies and waiting for the oil to separate. I am here to tell you that assumption is a luxury we cannot afford this week.
For the last three years, I have treated weeknight cooking as an operational challenge rather than a culinary leisure activity. The goal is protein on the table in under 45 minutes, including cleanup. To achieve that with egg curry, we must abandon the traditional slow-simmer mindset entirely. We are not building a flavor profile over an hour; we are deploying it.
This method relies on pre-boiled eggs and a hyper-efficient onion-tomato base cooked at high heat. It does not require patience, and it certainly does not require a pressure cooker to taste like a proper meal. We are essentially making a highly spiced, thickened sauce and merely heating the eggs through it.
There is a persistent myth in home kitchens that good curry requires long, slow sweating of aromatics. While that is true for complex meat dishes where connective tissue needs time to break down, it is unnecessary for eggs. Eggs are the ultimate low-maintenance protein; they are already cooked before they even touch the pan.
If you feel hesitant about cooking a curry in twenty minutes, you might be falling for the idea that time equals taste. Often, intensity equals taste. By using a finer chop on our aromatics and increasing the surface area exposure to heat, we extract flavor in seconds rather than minutes. I once believed that you cannot make good curry without a pressure cooker, but I have since found that a wide, heavy-bottomed pan and a lack of inhibition with the heat dial work just as well for rapid assembly.
This recipe is about leverage. We leverage the pre-boiled nature of the eggs. We leverage the high sugar content of ripe tomatoes to caramelize quickly. We leverage fat.
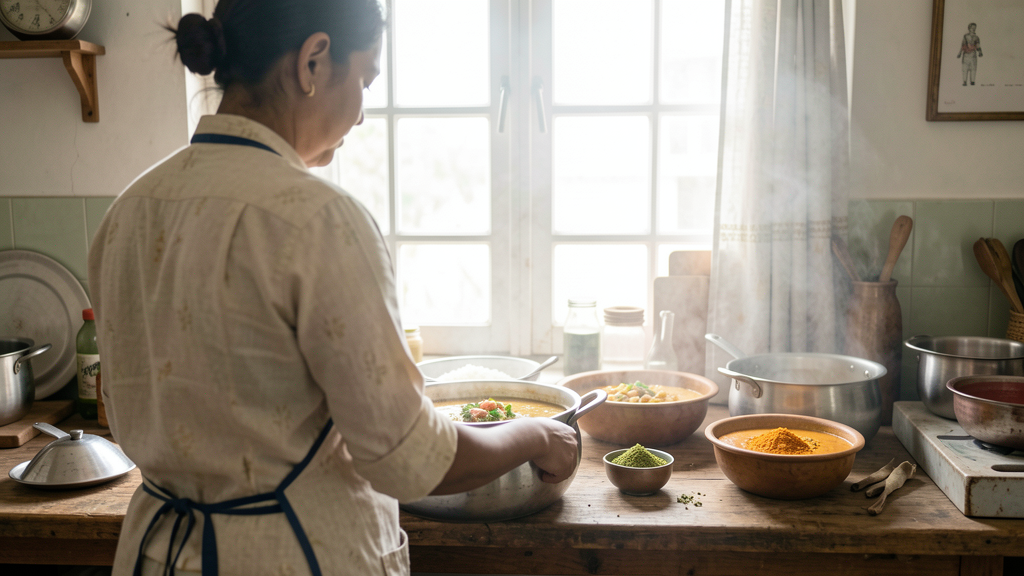
Before you turn on the stove, everything must be prepped. The moment you heat the oil is the moment the clock starts. Do not chop onions while the oil sputters; that is how you burn garlic and ruin the base.
For two hungry people, you will need:
Place your pan over medium-high heat. Add the oil and wait until it shimmers, which should take about 30 seconds. Toss in the cumin seeds. They should sizzle and dance almost immediately. This is the sign that the fat is ready to receive the aromatics.
Add the chopped onions and the green chili. Do not lower the heat. We want the onions to soften and take on a translucent edge, but we do not need them deep brown. Stir them vigorously for about 3 to 4 minutes. They should look soft and glossy, not raw. If they catch a bit of golden color on the edges, even better; that adds the caramel notes we usually wait an hour for.
Add the grated ginger and garlic to the pan. Stir for 45 seconds. You want the raw smell to evaporate, but because the heat is high, this happens fast. Do not walk away.
Next, dump in the chopped tomatoes. This is where the texture of the sauce is determined. Using the back of your spatula, mash the tomatoes into the onions as they cook. We are creating a homogeneous slurry. There should be no distinct chunks of tomato remaining, only a thick, pulp-like consistency.
Cook this onion-tomato mash for about 3 minutes. You will see the oil beginning to coat the sides of the pan. This is the "kadai" texture we are looking for—a thick, cohesive base that coats the spoon.
Lower the heat slightly to prevent the powdered spices from scorching. Add the turmeric, Kashmiri chili powder, coriander powder, and salt. Stir these spices into the hot base for a full minute.
The fat in the onions and oil will bind with the spices, turning the mixture a deep, appetizing orange-red. The kitchen should smell sharp and earthy. This "blooming" step is critical; raw spices taste dusty, but cooked-in-spices taste rounded and savory.
Pour in the 1/4 cup of water. As soon as the water hits the hot pan, scrape the bottom of the pan with your spatula to deglaze any flavorful bits stuck to the metal. The sauce will loosen up immediately.
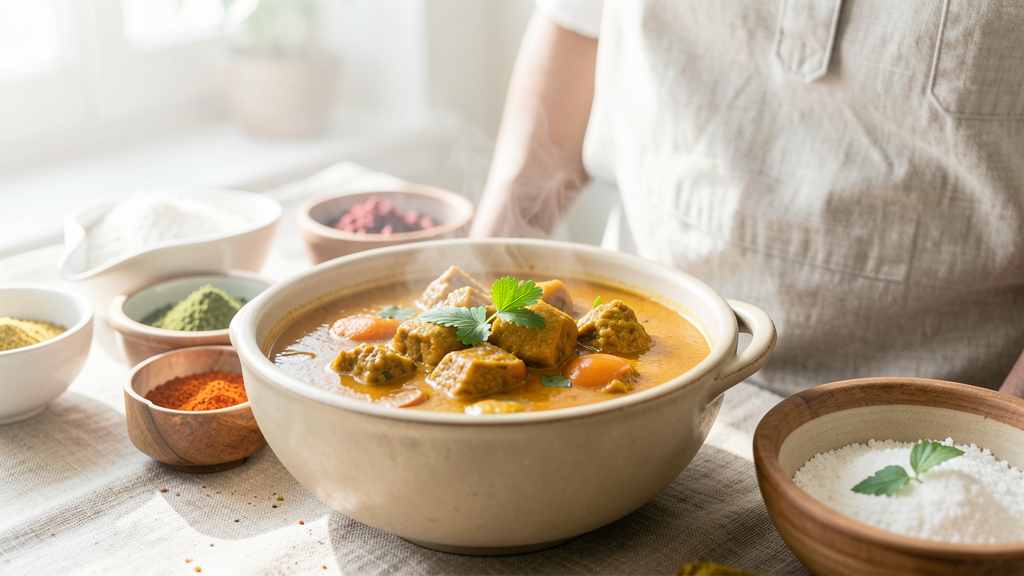
Bring this to a gentle simmer. It should look like a thick gravy, not a soup. If you prefer a thinner consistency, add another two tablespoons of water, but remember that we are aiming for intensity here, not dilution.
Take your pre-boiled eggs. I prefer to cut them in half lengthwise before adding them to the curry. This exposes the yolk and allows the sauce to cling to the egg's surface, rather than the egg just sitting in the sauce like a smooth stone. It is a small step that changes the eating experience entirely.
Gently place the egg halves into the simmering sauce. Cut the heat to low. Spoon some of the hot sauce over the tops of the eggs. We do not need to cook the eggs; we just need to marry the temperature. Let them sit in the gravy for exactly 2 minutes.
Sprinkle the garam masala over the top now. Adding garam masala at the end preserves the volatile aromatic oils that would otherwise be destroyed by prolonged heat.
Turn off the heat. Tear a handful of fresh cilantro leaves and scatter them over the pan. Cover the pan with a lid and let it rest for 5 minutes before serving. This rest period is non-negotiable; it allows the sauce to thicken slightly as it cools and clings to the eggs.
Serve this with steamed basmati rice or warm rotis. If you are pairing this with rice, getting the rice-to-curry ratio right is crucial for a satisfying meal. You want enough sauce to flavor every grain of rice without turning it into a porridge. I usually refer to the 'one-pot' rice and curry ratio explained to ensure I don't overload the plate.
From start to finish, this process takes roughly 18 minutes. The cleanup involves one pan, a cutting board, and a knife. You are eating a home-cooked, protein-rich meal before you would have received a delivery order from a restaurant.
In 2026, with grocery prices climbing and time becoming our most scarce commodity, returning to simple, efficient proteins like eggs is not just a budget hack; it is a strategic choice. By removing the "waiting" from the cooking process, we reclaim our evenings. We stop being short-order cooks waiting for onions to brown and start being eaters enjoying a meal that actually tastes like effort, despite the speed of execution.

Ditch the expensive gadgets and learn how high-heat wok techniques can deliver tender, flavorful chicken curries in just twenty minutes.
Master the precise water calculation required to cook protein and rice simultaneously, ensuring firm grains and tender meat in under 40 minutes.