Weeknight Curries
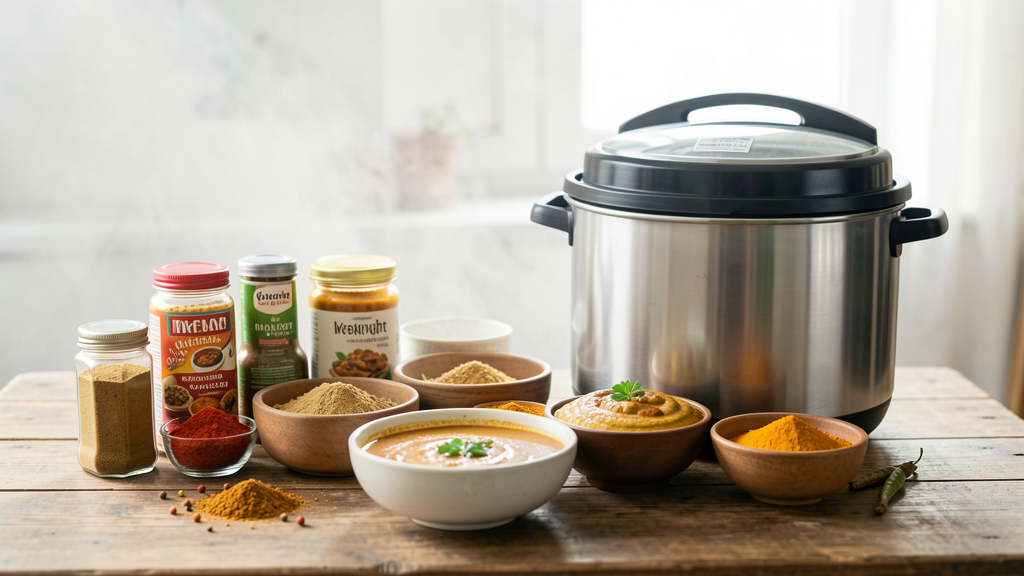
Myth: You Cannot Make Good Curry Without a Pressure Cooker
Ditch the expensive gadgets and learn how high-heat wok techniques can deliver tender, flavorful chicken curries in just twenty minutes.
6 min read
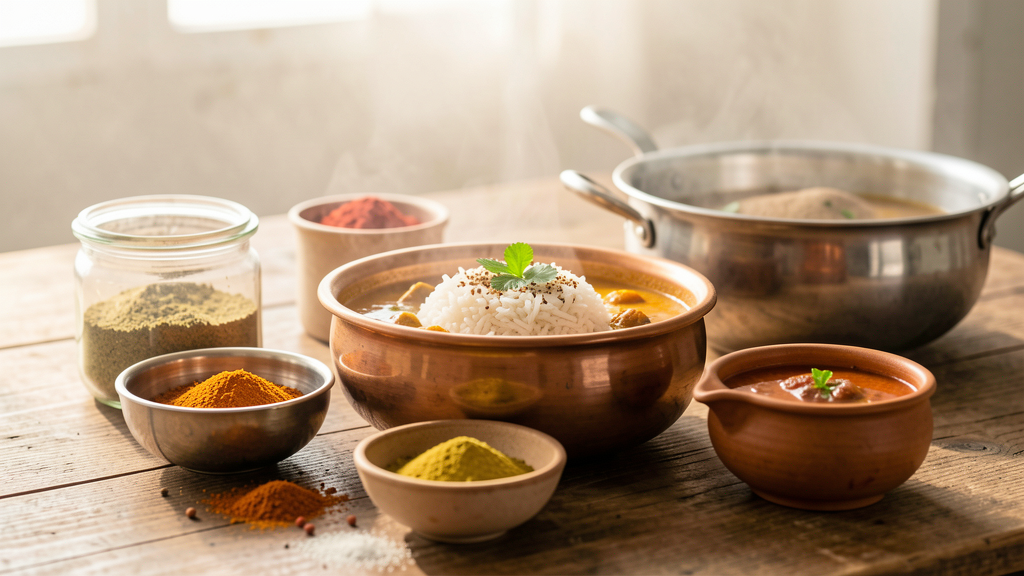
Master the precise water calculation required to cook protein and rice simultaneously, ensuring firm grains and tender meat in under 40 minutes.
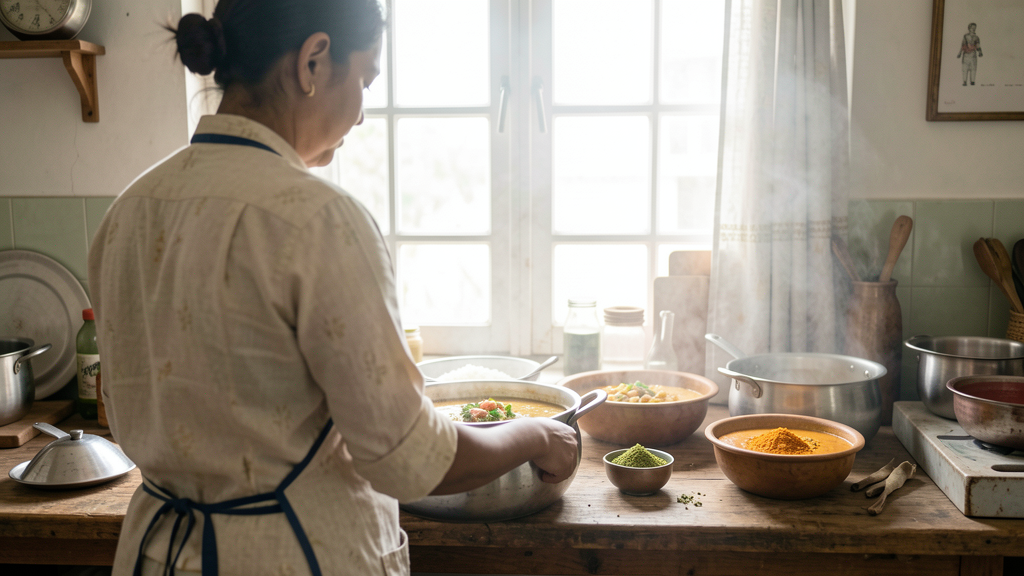
Editorial image illustrating The 'One-Pot' Rice and Curry Ratio Explained
I received a frantic email last Tuesday from a reader named Sarah. She had followed a popular recipe for a "One-Pot Chicken Curry Rice" to the letter. The result was a disaster: the chicken was rubbery, the spices tasted raw, and the rice had disintegrated into a thick, starchy wallpaper paste. Sarah is not a beginner. She can make a decent egg curry in under 20 minutes using pre-boiled eggs, but the one-pot method broke her.
The issue is not her skill. The issue is a fundamental misunderstanding of hydration physics. Most recipes treat the rice and the curry as separate entities that happen to share a pot. They do not. When you cook protein and grains together in a single vessel for a weeknight curry, you are fighting a battle of displacement. If you add the standard amount of water listed on your rice packet, you have already failed.
Every bag of basmati rice tells you to use one and a half cups of water for every cup of rice. That ratio works perfectly when you are boiling rice in plain water on a stove. The water boils, the grains hydrate and swell, and the excess liquid evaporates or is absorbed.
However, a curry is not plain water. It is a complex suspension of solids and liquids. When you throw 400 grams of boneless chicken thighs and two diced tomatoes into the pot before adding the rice, you are introducing a massive amount of hidden moisture. Tomatoes are roughly 94% water. Onions are 89% water. Even the chicken, depending on the cut and quality, releases a significant amount of protein-rich liquid as it heats up.
If you follow the package instructions—1 cup rice to 1.5 cups liquid—and you already have a cup of liquid from the vegetables and meat, you are effectively hydrating that rice with a total of 2.5 cups of fluid. The rice grain cannot contain that much volume. It bursts, releasing starch, and turns the surrounding liquid into a gelatinous sludge. You end up with a texture closer to risotto than the distinct, fluffy grains we aim for in Indian cuisine.
To fix this, you must stop thinking about "adding water" and start thinking about "total hydration." For a successful one-pot meal that meets the 45-minute cleanup deadline, you need to calculate the moisture released by your aromatics and protein, then subtract that from the total required liquid.
Here is the technical breakdown I use in my kitchen. Assume your standard rice ratio is 1:1.5 (rice to total liquid).
If you are using a standard protein like chicken or lamb and a tomato-onion base, those ingredients will release approximately 3/4 of a cup of liquid per cup of raw rice added during the cooking process. Therefore, you should not add 1.5 cups of water. You should only add about 3/4 of a cup. You want to create a deficit.
By intentionally starting with less liquid than the rice technically needs, you force the grains to drink the flavorful juices exuded by the meat and tomatoes. The water in the pot acts merely as a vehicle to conduct heat and distribute those flavors, while the majority of the hydration comes from the ingredients themselves. This results in rice that tastes of the curry rather than just tasting wet.
Pot material plays a massive role here, which is often overlooked. A heavy cast-iron Dutch oven retains moisture much better than a thin stainless steel karahi. If you are cooking in a thin pot, evaporation happens faster from the sides, and you might actually need that full 1:1 ratio because you are losing steam to the air rather than trapping it.
Conversely, if you use a heavy pot with a tight-fitting lid, the 25% reduction rule is vital. I prefer a wide, heavy-bottomed pot for one-pot meals because it allows for a quick, high-heat sear on the meat before the rice goes in. This high-heat sear is non-negotiable. If you just dump everything in cold water, you are boiling the meat, resulting in that grey, flabby texture Sarah complained about.
Many home cooks rely on pressure cookers to solve this, believing it is the only way to tenderize meat quickly. I argue against this dependency. While convenient, it masks poor technique. As I discussed in my article on the myth that you cannot make good curry without a pressure cooker, understanding heat control in a standard open pot yields far superior texture and allows you to judge the liquid reduction with your eyes.
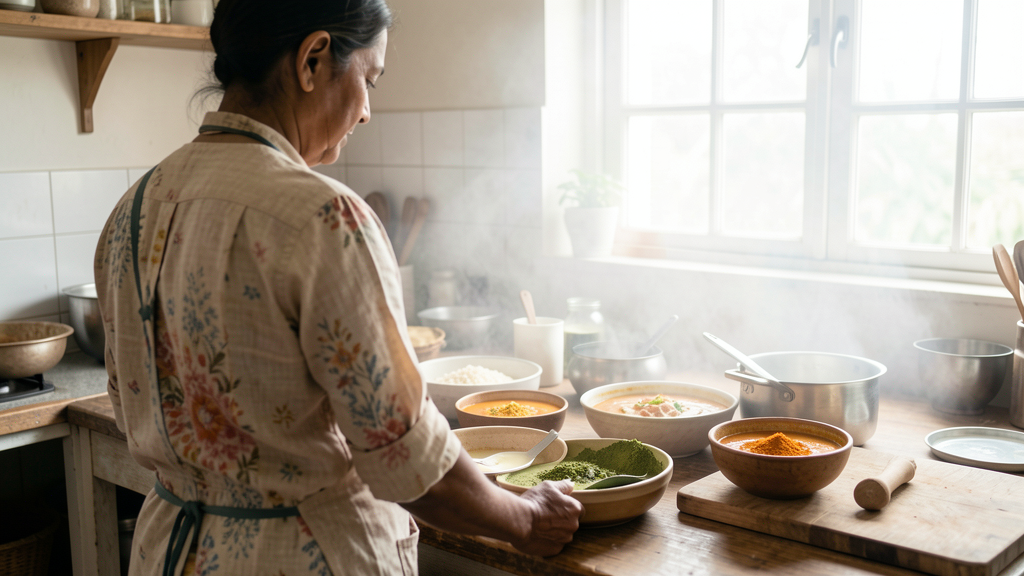
The "deficit" changes depending on your curry base. This is where the distinction between a yogurt-based curry and a coconut milk-based curry becomes critical.
If you are using coconut milk as the primary liquid, you must reduce added water even further—sometimes eliminating it entirely depending on the brand. Coconut milk contains fats and solids that do not evaporate like water. If you use a 1:1.5 ratio with full-fat coconut milk, you will end up with a heavy, greasy pudding.
Yogurt behaves differently. It sets when heated and releases water slowly. When using a yogurt base, you usually need slightly more added water than with a tomato base because the yogurt thickens the sauce and can cause the rice to stick to the bottom before it hydrates fully. The interplay between these bases and leftovers is also distinct; a coconut milk base handles leftovers better because the fat coats the rice and prevents it from drying out in the fridge, whereas yogurt-based rice dishes tend to harden.
The final piece of the puzzle is the resting period, often called the "steam phase." Once the water has visibly evaporated and bubbles appear on the surface of the rice—craters forming in the sand—you must turn the heat down to the absolute lowest setting and clamp the lid on.
Do not lift the lid for 10 minutes. This is not a suggestion; it is the mechanism that finishes the cooking process. During this time, the residual moisture trapped inside the pot, and the moisture still within the rice grains themselves, redistributes. If you serve it immediately, the bottom layer will be mushy and the top layer will be crunchy. This waiting period is the only way to ensure uniform texture without turning the dish into a mash.
Mastering the one-pot ratio is an exercise in restraint. Restrain the water, restrain the heat, and restrain your urge to stir. Once you understand that the meat and vegetables are not just flavor agents but active sources of hydration, the mush disappears, and you are left with a meal where the rice is perfectly steamed and infused with the spice of the curry. It transforms dinner from a chore into an efficient, precise operation that leaves you with a clean kitchen and a satisfied table.

Ditch the expensive gadgets and learn how high-heat wok techniques can deliver tender, flavorful chicken curries in just twenty minutes.
Stop throwing away perfectly good dinner; here is why coconut milk outperforms yogurt in the brutal environment of the office microwave.