Practical Prep
5 Knives You Actually Need for Indian Cooking
Stop wrestling with large Western chef's knives for delicate subzi prep; here are the five specific blade shapes that make chopping curry ingredients safe, fast, and precise.
8 min read
Master the refrigerator chill and sharp knife technique to process 5 kilos of curry onions in silence, keeping the lachrymatory agents locked firmly inside the cells.

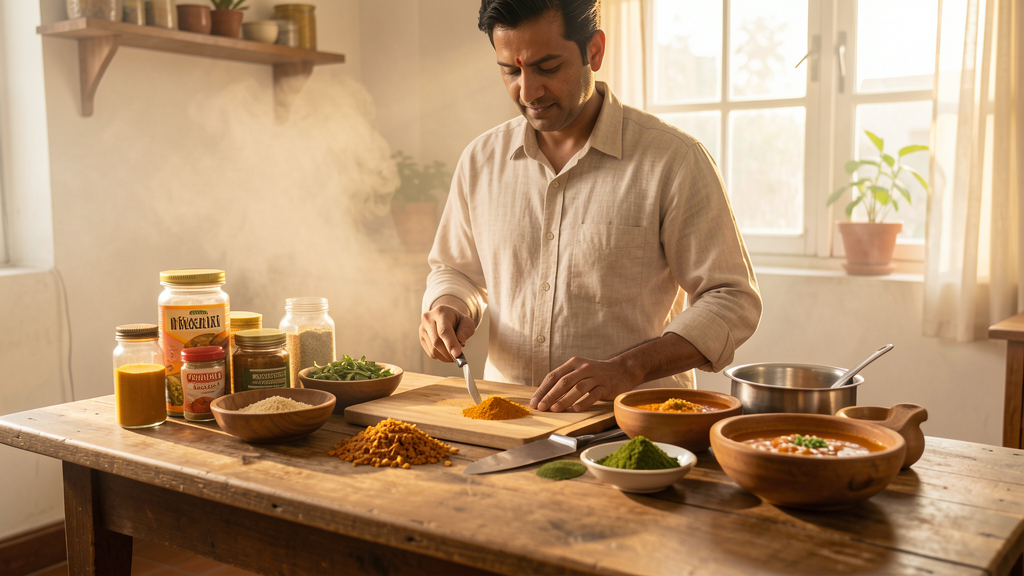
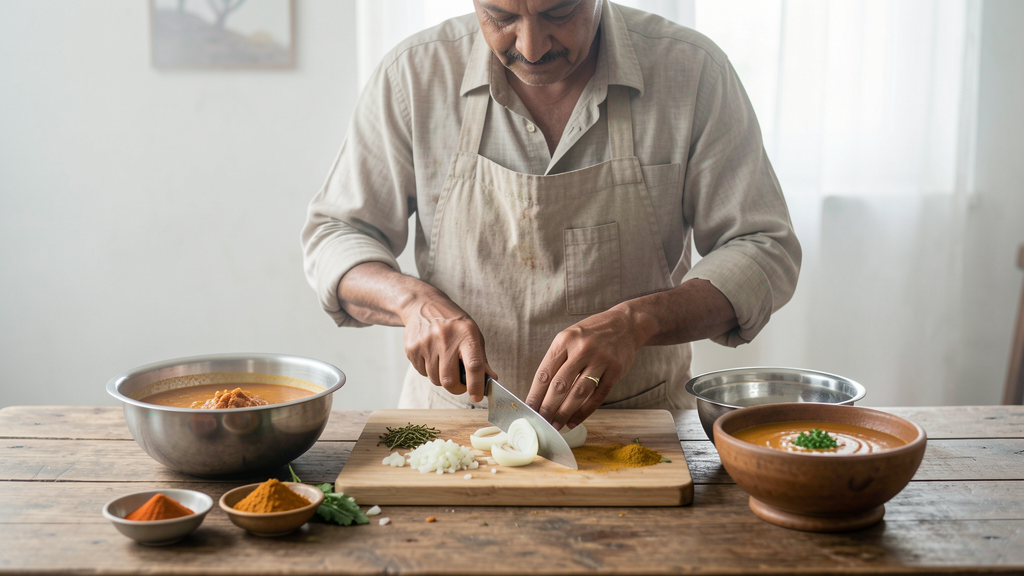
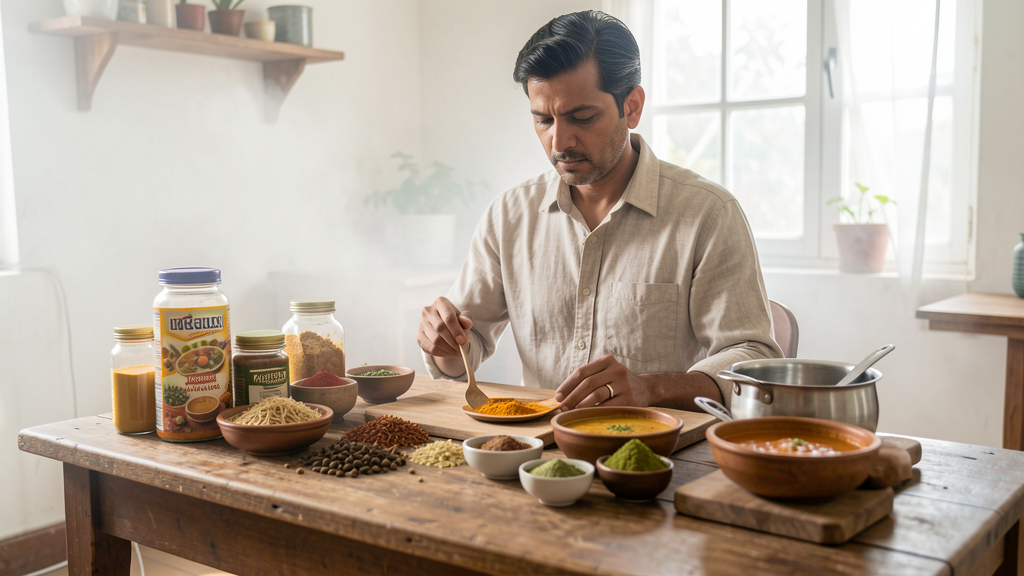
Editorial image illustrating Stop the Tears: The Chill-and-Chop Method for Batch-Cutting Onions
There is a specific kind of dread that settles in on a Sunday evening when you realize your weekly meal prep requires dicing three kilograms of onions. For a home cook serious about Indian cuisine, this is non-negotiable. The foundation of any respectable curry base—a rich, deeply colored masala—relies on the volume of onions you are willing to sweat down. Yet, the physiological response to this task is brutal. The stinging eyes, the running nose, the involuntary tearing that blurs your vision right when you are holding a sharp blade. It turns a meditative prep session into a battle against your own nervous system.
The culprit is not the odor itself, but a specific chemical defense mechanism. When you cut into an onion, you break open cells, releasing amino acid sulfoxides and alliinase. These enzymes react to form sulfenic acids, which are volatile and instantly rearrange into syn-propanethial-S-oxide. This gas hits the cornea, triggers the tear glands, and you are forced to stop cooking to wipe your face. Most amateur cooks try to chop faster to "get it over with," which is exactly how accidents happen. The solution is not speed; it is temperature control and blade geometry. By chilling the alliums and using a specific cutting technique, you can suppress the gas release entirely.
This guide focuses on the refrigerator chill method combined with a root-anchor cutting style. It is the method I use in the Massalaapp test kitchen to process bulk onions without the physical pain, ensuring the curry base starts with perfectly diced, uniform pieces rather than jagged, hurried chunks.
To defeat the enemy, you must understand its behavior. The enzymatic reaction that creates the tear-inducing gas is highly sensitive to temperature. Think of the enzymes inside the onion cells as dormant engines that need heat or agitation to roar to life. When an onion sits at room temperature (roughly 20°C to 25°C), these enzymes are in their optimal state for volatility. The moment your knife breaches the cell wall, they are ready to spray gas.
By lowering the temperature of the onion, you change the viscosity of the enzymes and the volatility of the resulting gas. You do not need to freeze the onion solid, which damages the cellular structure and turns your curry base into mush. You simply need to cool the onion down to roughly 4°C. At this internal temperature, the reaction still occurs, but the gas moves much slower. It tends to stay closer to the cutting board rather than drifting up toward your face.
However, temperature alone is only half the battle. A dull knife crushes the onion rather than slicing through it. If you are crushing the layers, you are bursting cells far away from the actual cut line, releasing unnecessary amounts of enzyme. A sharp knife severs the cells cleanly, minimizing the surface area exposed to the air. This is why investing in the right blades is critical before you even begin your prep.
Before we get to the onions, clear your station. You need a chef’s knife—specifically one with a blade length of at least 8 inches (20cm). A shorter blade forces you to "saw" through the onion, creating friction and heat, which ironically speeds up the enzyme release. The blade must be freshly honed; if you haven't used a honing steel this year, start there. You want to feel a slight resistance when you run your thumb perpendicular to the edge, but no snagging.
Your cutting board matters, too. Place a damp kitchen towel underneath your wooden or plastic board to anchor it. You will be using a specific, rhythmic motion for bulk cutting, and if the board slides, you lose control of the knife angle. Loss of control leads to crushing the onion, which brings the tears back.
Finally, prepare a large mixing bowl. Ideally, use stainless steel. Some anecdotal evidence suggests that the steel can help bind the sulfur compounds, though the cold is doing the heavy lifting here. More importantly, the bowl keeps the onions contained rather than scattered across the counter, where they continue to off-gas at room temperature.
Do not peel your onions yet. The papery skin acts as a protective insulation layer. You want to chill the onion completely through to the center.
Step 1: Selection and Timing Select your onions. For a standard curry base, I prefer red onions for their sweetness or large yellow onions for their pungency. Place the whole, unpeeled onions in the coldest part of your refrigerator, usually the back of the bottom shelf. Do not use the crisper drawer; it is often too humid and not quite cold enough. Leave them there for at least 30 minutes, but preferably 2 hours. If you are doing a massive batch (over 2kg), leave them overnight.
Step 2: The 10-Minute Flash If you are in a rush and forgot to chill them, you can use the freezer. Place the whole onions in the freezer for exactly 10 to 15 minutes. Set a timer. If you forget them and they freeze hard, the texture will be compromised. They will weep water immediately upon hitting the pan, and your curry base will steam instead of brown. The fridge method is superior for texture control.
Step 3: Ice Bath Immersion (Optional) This is a technique I use during the humid summers of 2026 when the kitchen is already warm. Fill a large bowl with cold water and ice cubes. Drop the onions in for 10 minutes right before cutting. This rapidly drops the surface temperature and washes away any accumulated dust that might carry irritants. Dry them thoroughly before moving to the board; a wet onion is a dangerous onion to cut.
This is the core of the method. Most people cut off the root end first. This is a mistake. The root is where the concentration of sulfur compounds is highest. If you slice it off, you release the gas immediately. Furthermore, the root acts as a natural handle to hold the onion together. We will keep the root intact until the very end.
Step 4: The Top Trim Remove the onions from the chill. Working quickly but calmly, take your chef's knife and slice off the non-root end (the stem, the pointy bit). Slice it off cleanly. Leave the root end completely untouched.
Step 5: Halving and Peeling Stand the onion on the flat cut you just made. Slice straight down through the root, splitting the onion in half. Now, peel away the papery skin and the first layer of flesh if it is dry or bruised. Do this quickly. The cold air is already working on the exposed flesh, slowing down the reaction.
Step 6: The Vertical Slices Place one half of the onion on the board, cut side down. The root should be facing away from your knife hand or to the side, depending on your grip, but never towards the blade. Make vertical cuts from the top to the board, working your way from one side to the other.
Crucial detail: Do not cut all the way through the root. Stop your knife about a quarter-inch before you hit the root. You want the onion layers to remain attached at the base. This "hinge" keeps the onion together and keeps the sulfur-rich root cells sealed. Space your cuts based on your desired dice size. For a curry base, I aim for roughly a half-centimeter width—fine enough to disappear into the sauce but substantial enough to provide body.
Step 7: The Cross Cut Now, grip the onion by the root end. Your fingers should be curled in a "claw" shape to protect them. The onion should look like a fan with the ribs running parallel to the board. Make two or three horizontal cuts into the onion, again stopping before you cut through the root. This creates the grid for the dice.
Step 8: The Final Chop Finally, chop down vertically across the onion. The diced pieces will fall away from the root, leaving the root base intact in your hand. Discard the root immediately into a compost bin or a sealed bag, sealing that source of gas away.
When you are cutting three or four kilos of onions, the efficiency of this motion compounds. By keeping the root intact, you maintain a stable object on your board. You aren't chasing loose half-moons of onion around the cutting surface. This stability allows you to speed up the knife work without sacrificing safety.
As you fill your mixing bowl with the diced onions, pay attention to the texture. Because they were chilled, the onions will feel crisp and snap cleanly under the knife. If you notice the onions warming up and becoming "mushy" or sticky to the touch, stop. Transfer the bowl of chopped onions to the fridge or freezer for a 5-minute break. The moment the onion warms up, the enzymes regain their potency, and the gas will start rising.
When you eventually dump these onions into your hot pan with oil, listen to the sound. A properly batch-cut, chilled onion will hiss aggressively as the water evaporates, but because the cell walls were sliced cleanly rather than crushed, they will caramelize more evenly. You will see the translucent edges turning a deep, golden brown evenly throughout the batch, rather than having some pieces burn while others remain raw.
This uniformity is the secret to a restaurant-grade curry base. It prevents that raw, harsh onion flavor that persists in undercooked curries. By the time the moisture has evaporated and the onions have turned that requisite mahogany color, the sulfur compounds have completely broken down into sweet sugars. You have effectively disarmed the onion's defense mechanism twice: first by chilling it to stop the tears, and second by cooking it to unlock the flavor.
The urge to rush through onion prep is understandable, especially when you have a spicy vindaloo or a butter chicken on the menu. However, the physical pain of tearing eyes causes you to rush, which leads to inconsistent chopping, which leads to uneven cooking.
This method requires you to slow down the preparation phase to speed up the cooking phase. It transforms the act of chopping from a reactive, painful experience into a controlled, precise process. Once you get the rhythm of the "Root-Anchor" method, you will find your hands moving faster than they did when you were trying to chop a rolling, slippery half-onion. The next time you face a mountain of onions on a Sunday afternoon, remember that the refrigerator is your most valuable tool, arguably more so than the knife itself. Keep them cold, keep them anchored, and your eyes will remain dry enough to see the deep, rich brown color your curry base deserves. Check out more workflow efficiency tips in our practical-prep section.

Stop wrestling with large Western chef's knives for delicate subzi prep; here are the five specific blade shapes that make chopping curry ingredients safe, fast, and precise.
By shifting my most-used whole spices from a countertop drawer to a magnetic strip directly above my stove, I eliminated the frantic search that ruins curry timing and saved valuable active cooking minutes.