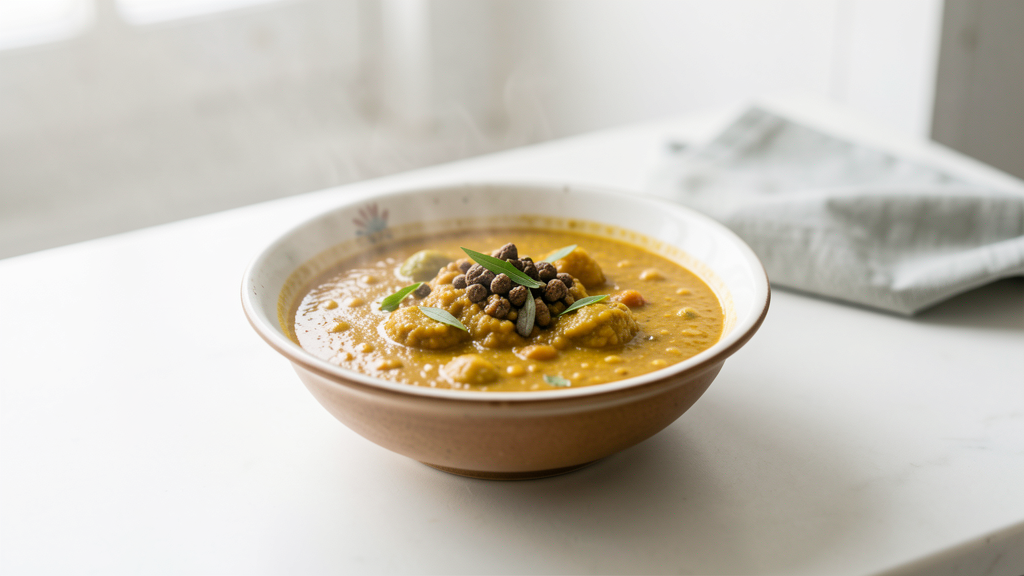
Editorial image illustrating Stop Making Brown Dal Makhani: How to De-Shell Black Urad Dal for Authentic Color
Every Sunday afternoon my inbox floods with the same frustration, accompanied by a photo of a dull, sludge-colored curry. The home cook followed the recipe to the gram, simmered the beans for hours, and finished it with butter and cream. Yet, the result looks nothing like the deep, obsidian gloss served at a decent Delhi restaurant. Instead, they have a bowl of brown mush.
The culprit is oxidation. When whole black urad dal (the skin) is cooked directly into the curry for prolonged periods—especially with alkaline baking soda often added to soften the beans—the anthocyanins responsible for that purple-black hue break down. They turn grey, then muddy brown. Most chefs mask this with liquid food coloring or generous amounts of charred masala, but that is a workaround, not a solution.
To get that authentic, jet-black sheen naturally, we have to stop cooking the skins in the final sauce. Instead, we extract the color.
I started using this extraction technique in the test kitchen back in 2024. It is tedious. It requires you to treat your lentils like fabric rather than food. But the result is a Dal Makhani that tastes purely of creamy earth and legumes, with a visual depth that shocks people who think homemade Indian food is inherently "rustic."
The Science of the Split
The confusion usually starts at the grocery store. You buy "Whole Black Urad," but the bag contains a mixture of intact black pearls and split, cream-colored halves. If you cook these together, the split legumes disintegrate, acting as a thickener that clouds the broth. While this creates body, it also accelerates the muddying of the color.
For the deepest black finish, we actually want to remove the skins entirely from the main cooking batch. We will boil the skins separately to create a concentrated "black tea," then cook the peeled (white) lentils in that dye. This way, you get the pristine texture of the white dal without losing the identity of the black urad.
This process demands patience. It is not a weeknight speed trick. It is a weekend project.
Preparation and Hydration
Before we touch a single skin, the beans need hydration. I use a ratio of 1:4 (dal to water) and soak for a minimum of 12 hours. These beans are tough, and if they are not fully swollen, the skins will cling to the flesh for dear life.
Drain the soaking water. Do not save it; it contains phytic acid and dirt that contributes to that bitter, muddy taste we are trying to avoid.
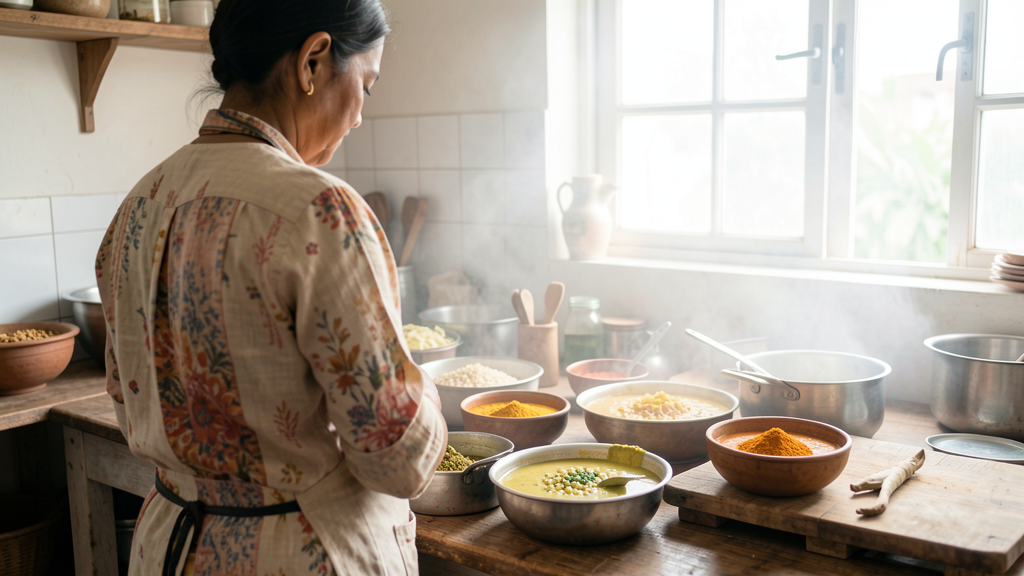
The Agitation Technique: Step-by-Step
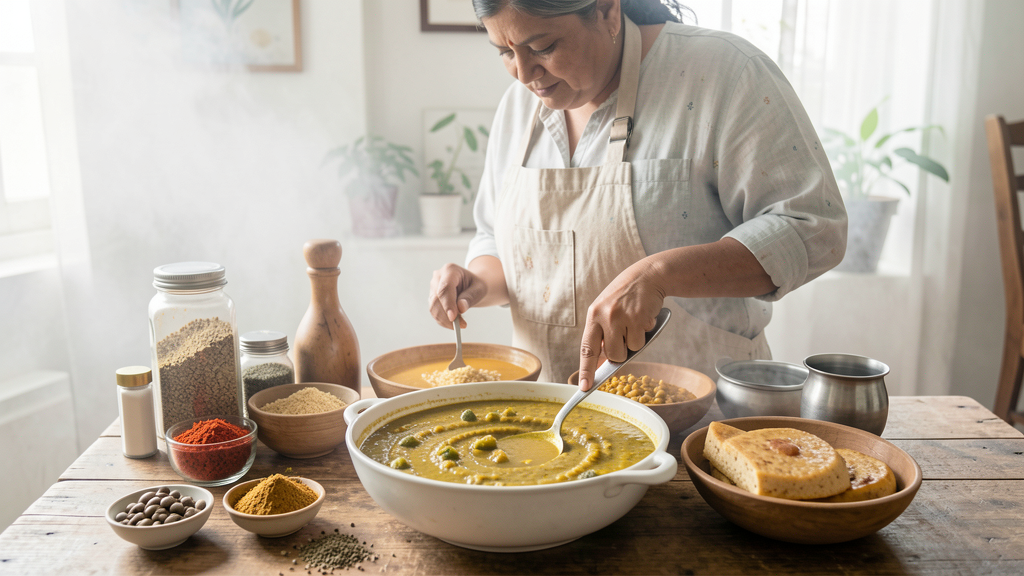
Here is where the work happens. You are going to manually de-shell the beans. I use a large stainless-steel mixing bowl for this because I can feel the friction of the metal against the lentils better than with plastic.
- Transfer and Submerge: Place your soaked dal into the mixing bowl and cover it with fresh cold water. The water level should be about two inches above the beans.
- The Palm Massage: Submerge your hands. Start vigorously rubbing the lentils between your palms. Imagine you are trying to polish a stone with your bare hands. Apply pressure. You want the friction to abrade the skins.
- Separation: As you rub, you will feel the skins slipping off the white dal core. They are papery and light. Keep the water moving in a circular motion.
- The Float: Stop rubbing and let the bowl sit still for thirty seconds. The heavy, white lentil hearts will sink to the bottom. The black skins will float to the top.
- The Skim: Use a fine-mesh sieve or a slotted spoon to skim the floating black skins off the surface. Do not pour the water out yet, or you will lose the peeled lentils.
Repeat this cycle—rub, rest, skim—until 95% of the lentils are white. You will be left with a pile of wet, black skins and a bowl of peeled, cream-colored urad dal.
Creating the Natural Dye
Take the pile of wet black skins you just collected. Do not discard them; they are gold dust. Transfer them to a small saucepan and cover with two cups of water. Bring this to a boil, then reduce to a simmer.
Let this simmer gently for 20 to 25 minutes. The water will turn from inky black to a deep, translucent purple. This is your concentrated pigment. Strain this liquid through a muslin cloth or a very fine sieve to catch any debris. You now have a natural, flavor-packed dye that is stable and vibrant.
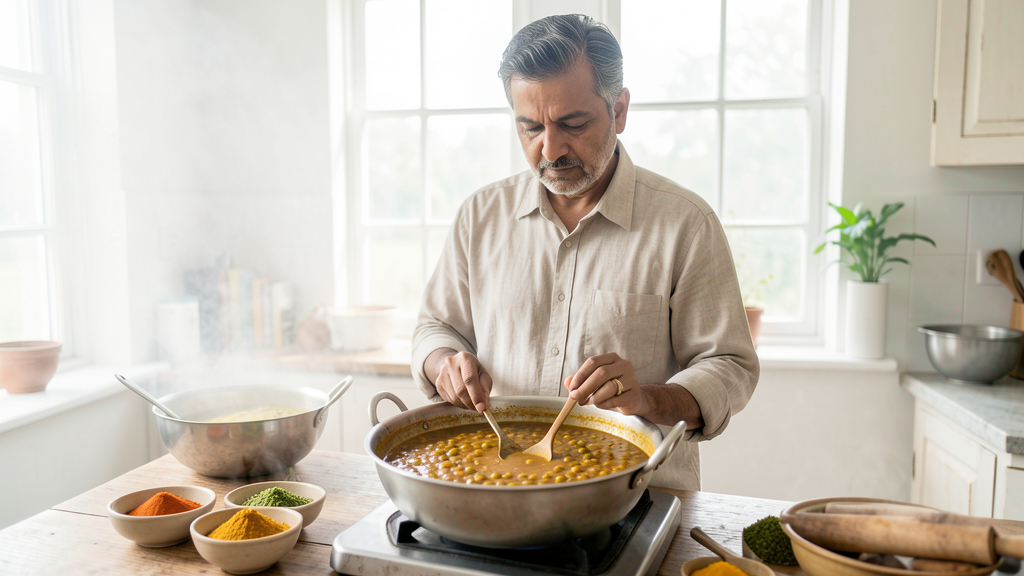
Cooking the Base with Sensory Precision
Now we cook the peeled white dal in this dye. In a pressure cooker or heavy-bottomed pot, combine the peeled dal, the black skin dye, and fresh water to cover by an inch. Add a pinch of turmeric and a teaspoon of salt—contrary to the old wives' tale, salt does not toughen these beans; it seasons them from the inside out. If you are unsure about salting early, check my post breaking down the salt myth.
Cook until the dal is tender. If pressure cooking, I find 4 to 5 whistles on medium heat work best for the peeled variety.
Here is the critical sensory check. When you mash a few grains between your thumb and forefinger, they should offer zero resistance. The texture should be fluffy, not gritty. If you smell the steam, it should smell nutty and sweet, not musty. If you notice a raw, starchy smell, give it another ten minutes.
The Consistency Check
The biggest mistake home cooks make at this stage is adding the cream too early. You must achieve the correct body in the lentil broth before any dairy touches the pan.
The consistency should resemble a thick, slow-moving lava. If you run a spoon through the center of the pot, the dal should hold the trail for a few seconds before slowly closing back in. If the water is separate and "weeping" around the lentils, you need to mash a quarter cup of the dal against the side of the pot and stir it back in to thicken the emulsion.
Building the Final Curry
Once your base is velvety, you temper it. In a separate small pan, heat ghee. Fry your cinnamon, cardamom, and cloves until they swell. Add finely chopped ginger and garlic; listen for the sizzle to drop in pitch—that signifies the moisture has evaporated. Pour this sizzling fat over the dal.
At this stage, the dal will look pale. Do not panic. This is where the interaction between the lentils and the spices happens. This is similar to how Rajma absorbs spices differently than Chole, relying on that hot fat to carry the flavor into the starch.
Let it simmer on the lowest heat setting, covered, for another 30 minutes. Finally, stir in the cream and kasuri methi (dried fenugreek leaves).
The Trade-off
Is this worth it? If you are cooking on a Tuesday night after a 10-hour shift, probably not. Use the standard method, accept the brown color, and enjoy the comfort food. But if you are hosting, photographing your food, or simply striving for that specific restaurant-quality excellence, this technique is the only way to get there without chemicals.
You are trading 30 minutes of labor for a visual result that money cannot buy in a jar. The taste is cleaner, too—without the bitter tannins of the boiled skins in the final bite, the sweetness of the cream and the earthiness of the ginger shine brighter.
Storage and Rehydration
If you go through the trouble of de-shelling, do it in bulk. You can dry the peeled white lentils in a low oven (150°F/65°C) for two hours and store them in an airtight jar. They will cook faster than unsoaked whole dal and absorb flavors more aggressively. When you are ready to cook, just remember: you cannot rush the infusion. The color needs time to marry with the starch, and heat is the only matchmaker we have.